


")
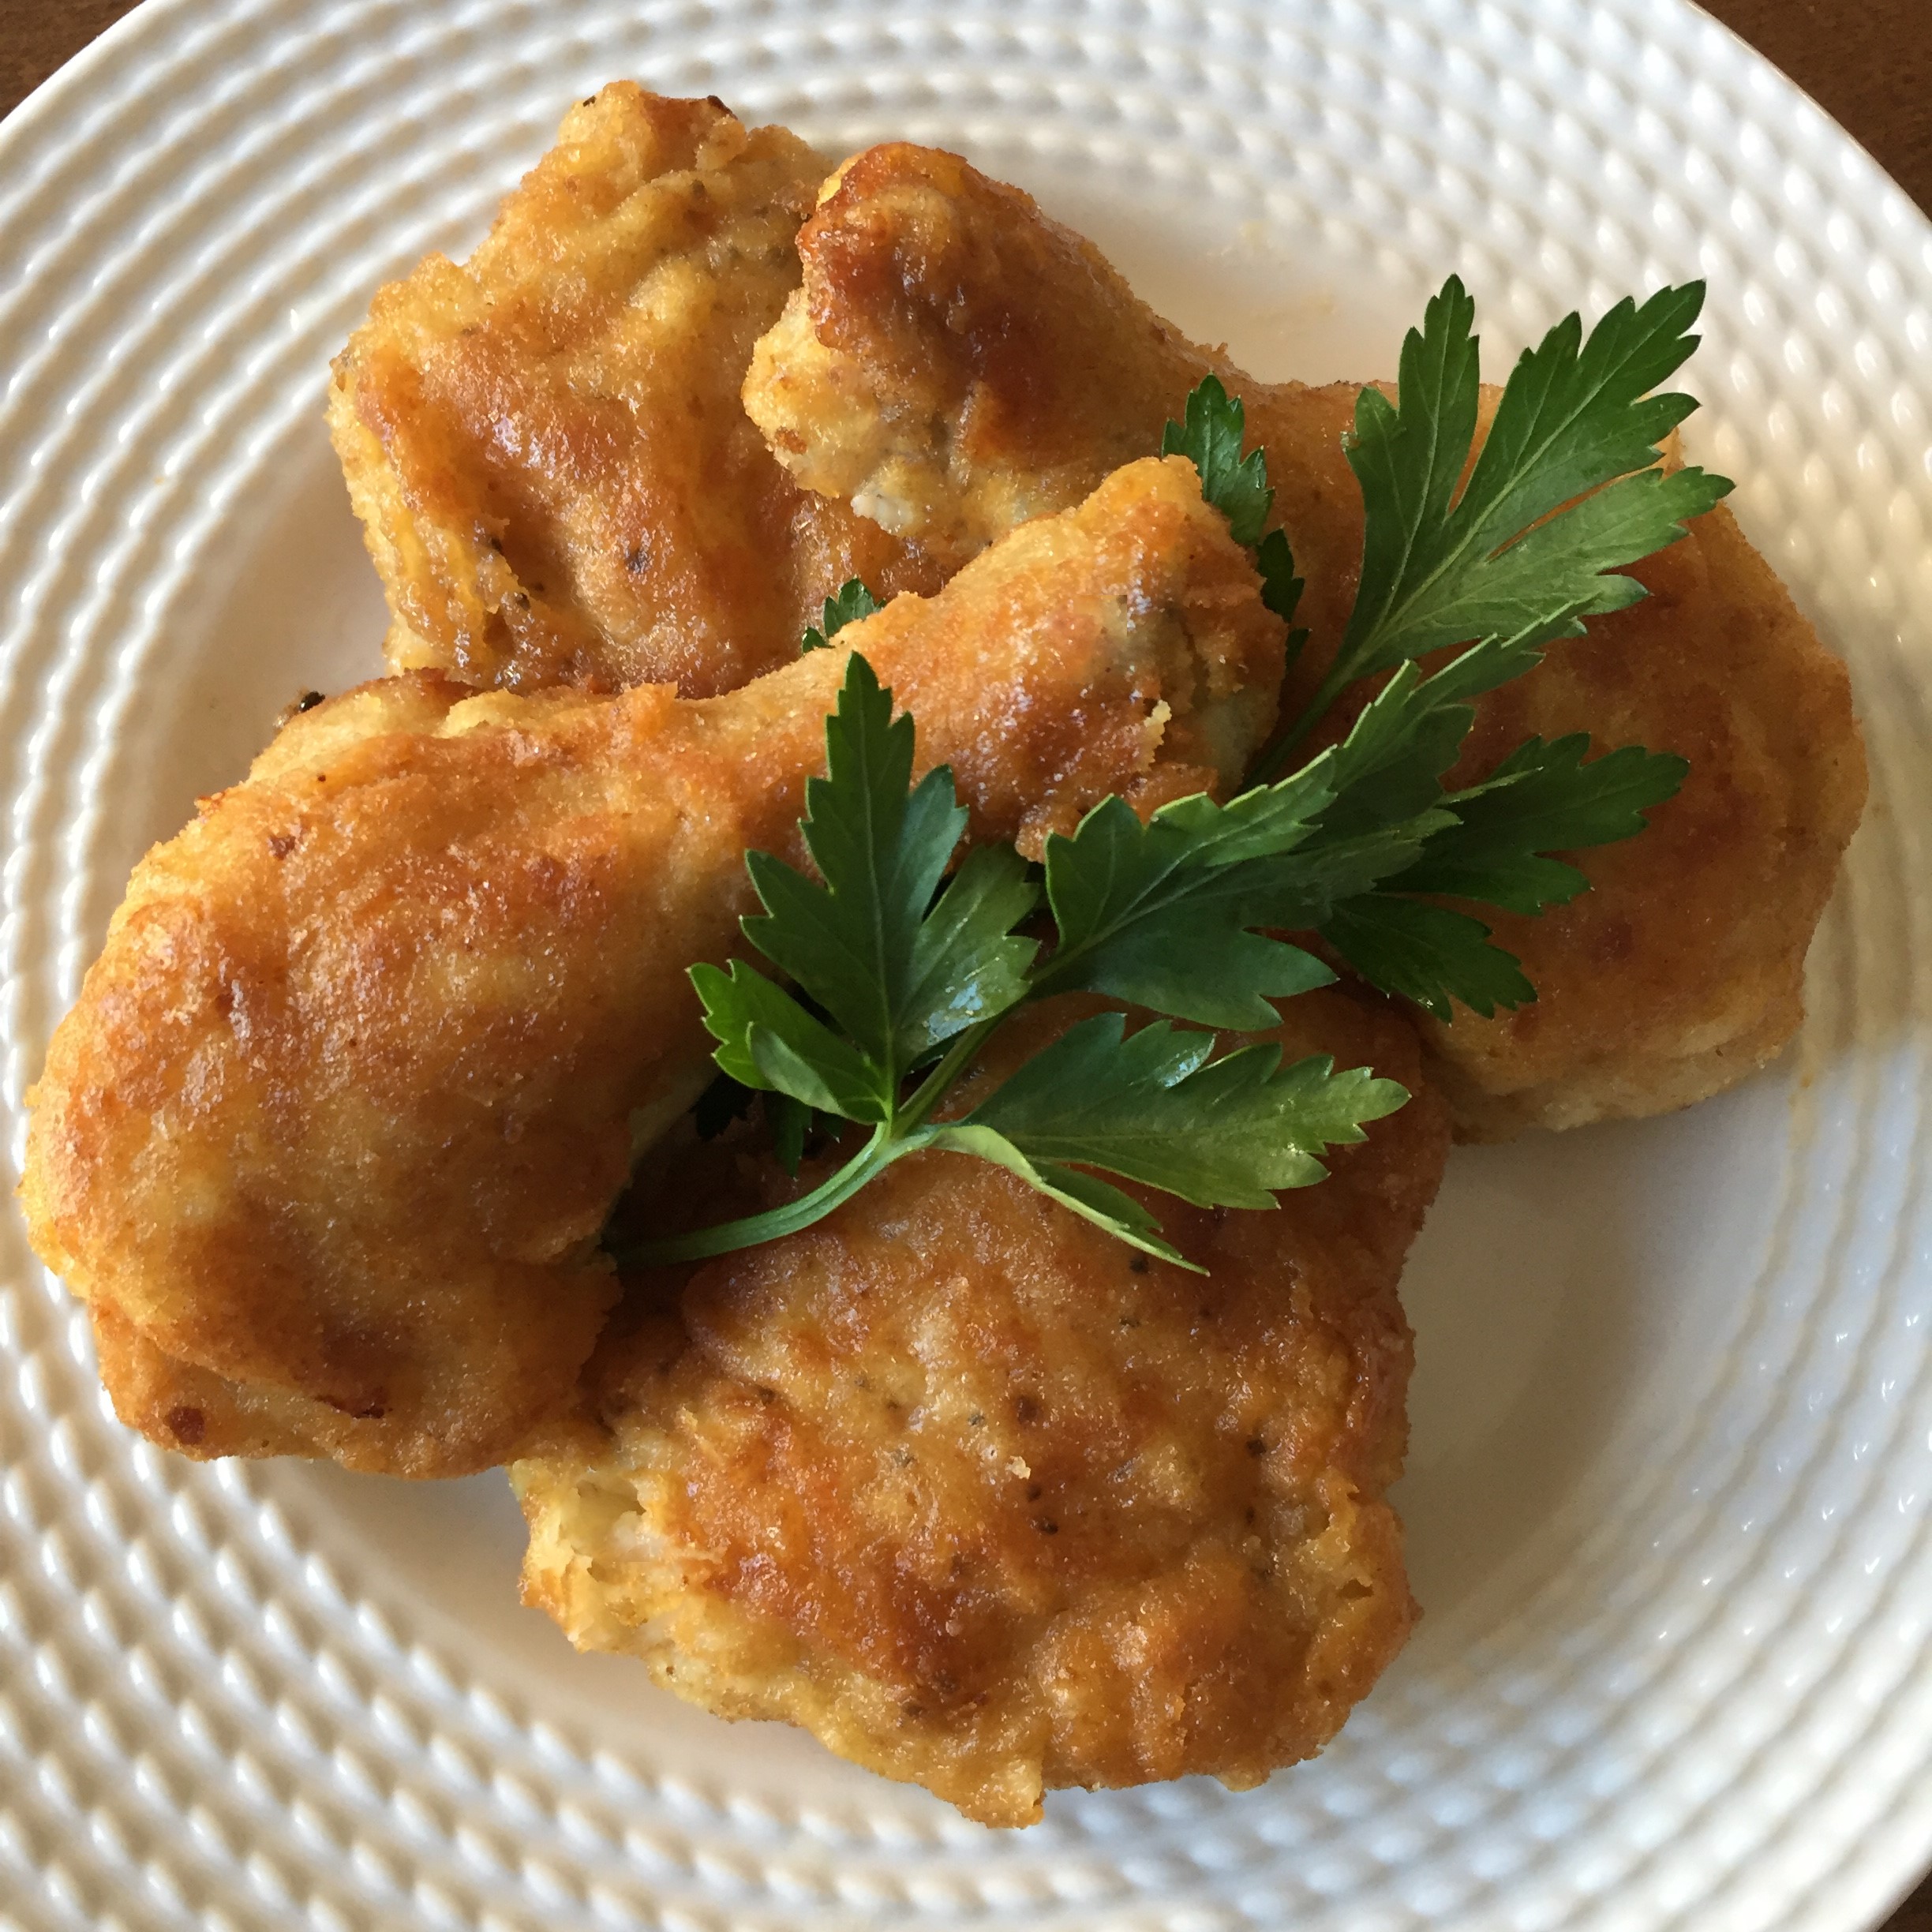
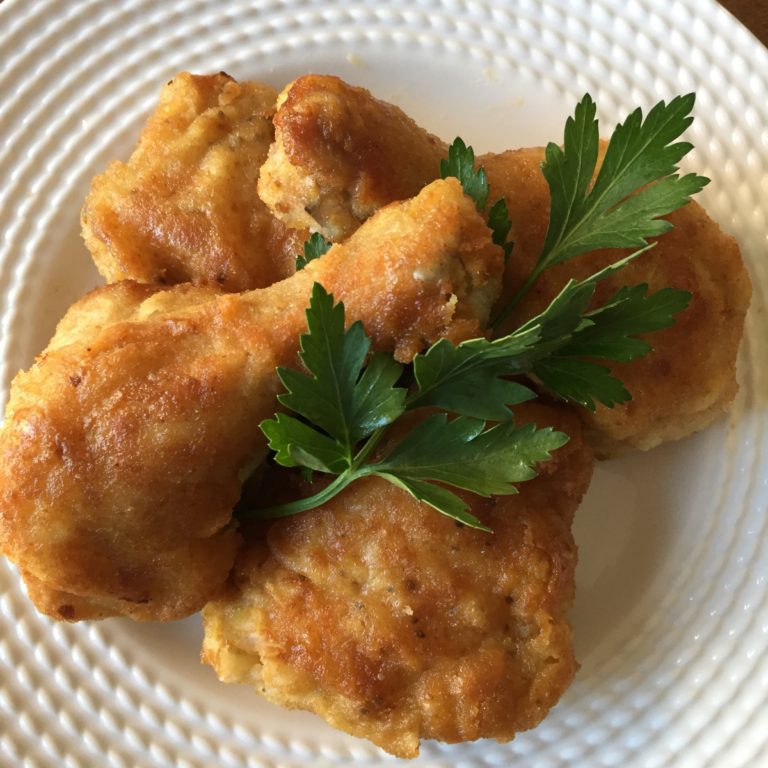
Hungarian Style Breaded Chicken
This Hungarian style breaded chicken recipe is simple yet the flavour and texture of this breaded chicken is juicy with a crispy coating. You will be going back for seconds!
Equipment
- baking dish
Ingredients
- 6 chicken drumsticks/thighs/breasts (organic or hormone and antibiotic free chicken)
- 1 1/2 tsp Himalayan salt
- 1/2 cup organic all-purpose flour
- 1 free-range egg, beaten
- 2 tbsp organic milk
- 3/4 cup fine bread crumbs (panko bread crumbs can be added)
- 21/2 cups organic vegetable oil (safflower/sunflower oil)
Instructions
- Preheat oven to 350°F.
- Select 6 chicken pieces of your choice. If you choose chicken breasts, you will need more flour, bread crumbs and another egg.
- Lay wax paper in an area for the flour, and bread crumbs. (or place flour and bread crumbs each on a plate). Beat egg and milk together and place in the centre of the flour and bread crumbs.
- Salt chicken pieces, place on a plate. Add oil to skillet or deep fryer and begin to warm the oil.
- Start coating each piece of chicken with flour, then evenly coat with egg mixture and then bread crumbs. Firmly pat the bread crumbs. Sometimes I will bread the chicken ahead of time and place in the refrigerator covered. By doing this, the breading tends to stay firmly on the chicken when frying.
- Method #1: Fried chicken: heat vegetable oil in a large skillet to 350°F, and carefully place each piece into the hot oil and fry for about 3-4 minutes on each side. Place the fried chicken into a baking dish and cover for 20 minutes, then remove cover cook for another 15-20 minutes until fully cooked and breading is crispy. Method #2: Baked chicken: Preheat oven to 350°F and coat a medium-large baking dish with vegetable oil and place the chicken in the dish. Coat the downside and flip the chicken over so the side that is coated with oil is facing up. Add more vegetable oil to the baking dish so the bottom side of the chicken doesn't stick to the bottom, dry up or overcook. Cover for the first 20 minutes and remove lid for the remaining 20 minutes.
- Remove chicken from the oven, and allow to rest for 5 minutes before serving. Serve with mashed potatoes, and green toss salad or cabbage salad. Enjoy!
Notes
Store leftover chicken in an air-tight container in the refrigerator for up to 3 days. Freezing chicken pieces up to 3-4 months in an air-tight container or zip-lock bag.
Nutrition
Calories: 980kcalCarbohydrates: 18gProtein: 25gFat: 92gSaturated Fat: 65gTrans Fat: 1gCholesterol: 114mgSodium: 774mgPotassium: 273mgFiber: 1gSugar: 1gVitamin A: 210IUVitamin C: 2mgCalcium: 49mgIron: 2mg
Tried this recipe?Let us know how it was!
What temperature is the oven ?
Hi Rick,
Oh I apologize, the temperature should be 350°F.
Thank you for pointing that out to me!
Rose
This is the recipe my nagymama used. Only, in the Satu Mare district of Romania (Hungarian speaking area) they brine the chicken pieces for about 20 or so minutes, rinse and dry, before the egg, flour, and bread crumb process. I bake my chicken on a rack so the oil drips out. I made this for a picnic here in Texas. The people gobbled it up saying it was the best fried chicken they ever had. When my grandchildren come home from college, this is the first meal they ask for, second is goulash, with a close third to chicken paprikash with homemade nokedli. Just a note, Hungarians consider you a Hungarian no matter where you live
Hi Mary,
Thank you so much for sharing. That technique you mentioned with the bread chicken is one I need to try. I have heard about brining chicken before breading and I like the idea of placing the pieces on a rack in the oven so the oil drips out.
I agree, wherever we live our roots and traditional practices are true to who we are. I am so happy you emailed me Mary! Have a wonderful Easter to you and your family.
Sincerely,
Rose xo
Can this chicken be ‘oven baked’ ?
Yes it can Nicholas. I have often coated the baking dish with a good olive oil or vegetable oil then making sure the chicken pieces are coated with oil as well. Then placed it in the baking dish for 40 minutes until the chicken is fully cooked.
Enjoy! 🙂
You’re taking me back to the mid-1950’s —
My mom would make a whole large roaster full of breaded chicken (fried, then baked/roasted) to take to club picnics — my Hungarian parents were the only non-Italians). Her chicken was always the first to go!
I’ve been longing for her recipes — she died last year, just short of her 100th birthday — and I’m lamenting the fact that she never wrote any down.
Thank you for taking a 76 year old back to her childhood! P.S. It’s what’s for dinner tonight!
Hi Sharron,
Aww…your welcome 🙂 Your mother sounds so sweet and an amazing cook! I know what you mean, before my mom passed away (at 92) we were able to get a few of her recipes written down, but not all of them. Unfortunately, she couldn’t remember all of them. She too was incredible with everything she made.
I am so thrilled you found my recipe. Breaded chicken was my mom’s favourite and mine too!
Thank you for sharing, your comment and rating.
Sincerely,
Rose