


Mom’s dill pickle recipe is an all-time family favourite! Anyone who tasted them said they were the best! They are so delicious with a perfect balance of flavours of onion, garlic, dill and spices. This Hungarian-style recipe has been in my family for generations and once you taste it, you will know why!

There is something said about recipes that have made over and over again, starting with your Grandmother, then your Mom and passed on to the next generation. I think it goes something like, “you don’t mess with a good thing!” This dill pickle recipe is just that, it is the BEST dill pickle recipe and anyone who has tasted them, would agree!!
Mom would can pickles every August and she would make over 40 large 1 liter or 1 quart jars. We had a large family, 9 kids in total, so whatever Mom canned there was many jars lined up in the cold-cellar ready for the cold months ahead. We were very fortunate to have a Grandmother and parents to pass on their expertise and many fabulous recipes.
LET’S GET STARTED!

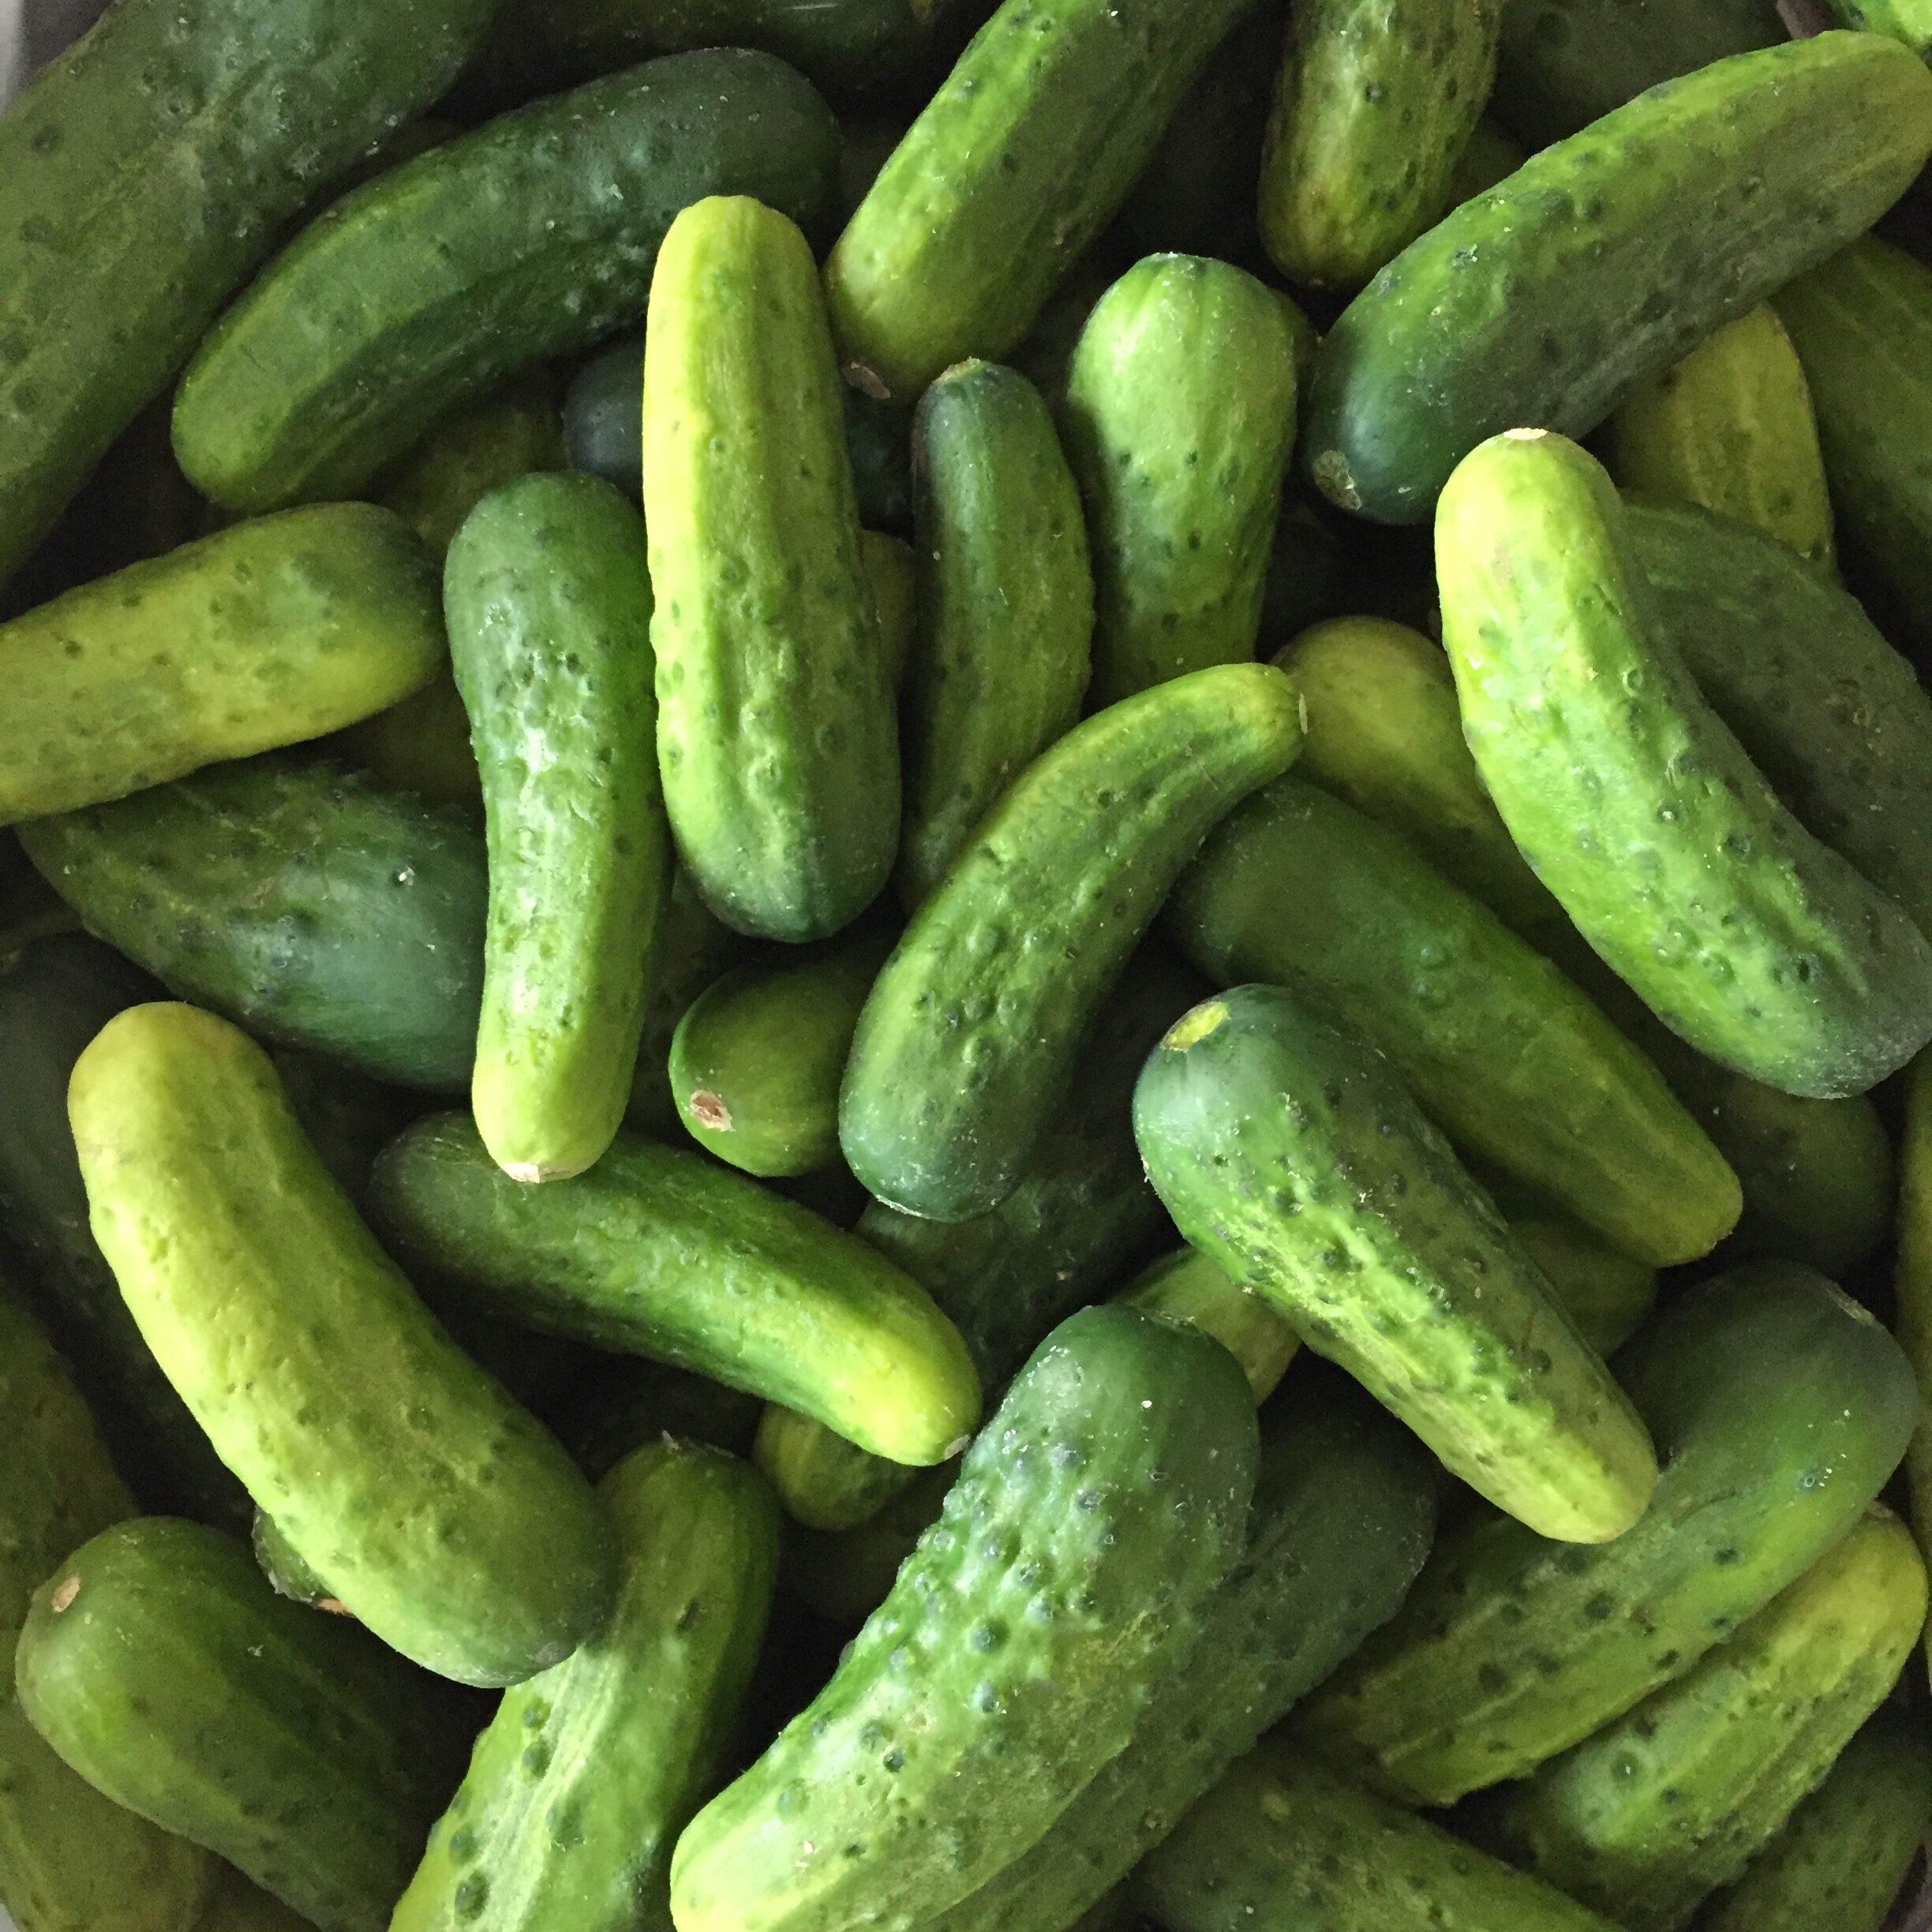
Thoroughly wash the cucumbers in lukewarm water with about a teaspoon of salt. Fill up a sink with water then add your cucumber’s and allow them to soak for a few minutes and if they are really sandy, you may need to change the water a couple of times. Using a soft potato brush and transfer them to a cold water sink.
WHAT YOU WILL NEED FOR THIS RECIPE
STANDARD EQUIPMENT:
- 5 – 1 liter (quart) mason jars or 5 – 500 mL wide mason jars with lids
- large canning pot
- jar lifter or thick oven mits
- 1 small sauce pot and 1 medium sauce pot
- large roasting pan
- ladle
INGREDIENTS:
- small pickling cucumbers, should be approx. 2-3 inches or 5-6 cm in length
- vinegar
- coarse pickling salt
- sugar
- fresh dill with stem
- onion
- garlic
- pickling spices 17
HOW TO MAKE THESE DILL PICKLES
")

First, get organized and have all of the ingredients ready to go. Then start adding the pickles to the hot mason jars. Take about 2-3 jars out of the oven at a time.
Start with adding a teaspoon of pickling spices to each jar. It will take some time to maneuver the pickles so they fit into the jars relatively tightly, keeping in mind, dill, onion and garlic slices have to be added. Work with the different sizes to line them up side by side. Sometimes, slicing the large rounded cucumber in half is helpful to allow a thinner slice to fit.
")
")
Your brine should have come to a boil and simmering as you fill the jars. The lids should had a chance to be placed in boiling water and in the oven to dry.
A large canning pot will fit about 5-7 jars at a time. Ladle the brine into each jar and wipe the rims with paper towel to avoid any of the brine sitting on the rim which will cause the lids to rust.
Add the tops and screw on the lids tightly. Once all jars on ready, fill the canning pot halfway with warm water, then add the jars into the canning pot. You may need to add more water once you add the jars. Make sure the water doesn’t touch the lids, it should be about 1 inch from the lids.
Bring to a boil, then reduce to a slow boil and once the liquid in the jars start bubbling, about 10 minutes, then it ready to remove and place on thick towel or cutting board. Allow them to cool at room temperature. Once you hear them pop, they are sealed.
You will see the colour of the pickles change and that is normal once the brine is added and after it sits in boil water. I have made 1 liter (1 quart) jars and 500 mL liter (1/2 a quart or 1 pint)
STORING
Pickles and many of canned vegetables done in jars during the summer months require time to preserve and flavours to marry. These pickles require a minimum of 4 months to preserve and will last up to the next year to 2 years unopened. Store them in a cold-cellar or cool place in your basement. We would bring out the canned goods during the holiday season and thoroughly enjoyed them. I hope you give them a try and send me an email if you have any questions. 🙂
Hungarian Dill Pickles
Ingredients
Equipment
Method
- Wash jars in dishwasher or by hand with hot soapy water the day before.
- Fill a clean sink with lukewarm water, add some salt (helps to rid of any dirt from the cucumbers) and clean thoroughly using a potato brush and then into the second sink with cold water for final cleaning. Then transfer to a large roasting pan. (if the cucumbers are not sandy, then I give them a rinse after the first wash, it really depends on how dirty they are) Place garlic, onion and dill in the same pan or on a plate for easy access when filling jars. Set aside.
- Option #1: one is placing jars upside down in the large canning pot with a metal rack, and add water to about 3 inches from the bottom. Bring water to a boil and sterilize for 10 minutes.
- Option #2: is place clean jars in a 250°F or 120°C oven for 20 minutes. I prefer this method.
- Once the jars have been in the oven for 20 minutes, then start adding pickling spices to the bottom of jar, then add the pickles arranging them side by side, as you get near the top, and still have space, add the garlic, onion and dill stem. It is easier to add this at the top of the pickles, however, if there is space on the bottom, I will add the dill, and sometimes the garlic and onion.
- Sterile lids in a small-medium sauce pot with boiling water, leaving them in for at least 5 minutes. Then transfer them to the oven at 250° to dry.
- While you are almost done adding the pickles to the jars, make the brine by adding vinegar, water, salt and sugar in a medium-large pot and bring to a boil. Then turn down the heat and keep the brine at a low simmer. Using a ladle, add brine to each jar, making sure the pickles are covered.
- Tighten the lids and place them in the bath water, keep the water level about 1 inch from the top, just under the rims of the jars.
- Bring the water to a low boil, and leave the jars in the bath water for about 10 minutes. Once you see the bubbles forming in the jars, you know that they have reached the appropriate temperature.
- Using thick oven mitts or jar lifter, carefully remove the jars from the bath and place on a thick towel. Allow them to cool, and as they are cooling, you will hear the popping sounds and that’s what you want to hear to let you know the lids are sealed.